Apartment renovation
Apartment renovation stages: from plan to move-in
Renovating an apartment in 17 stages: goals, measurements, building constraints, budget, contractors, building services, finishes, defect checks and handover.
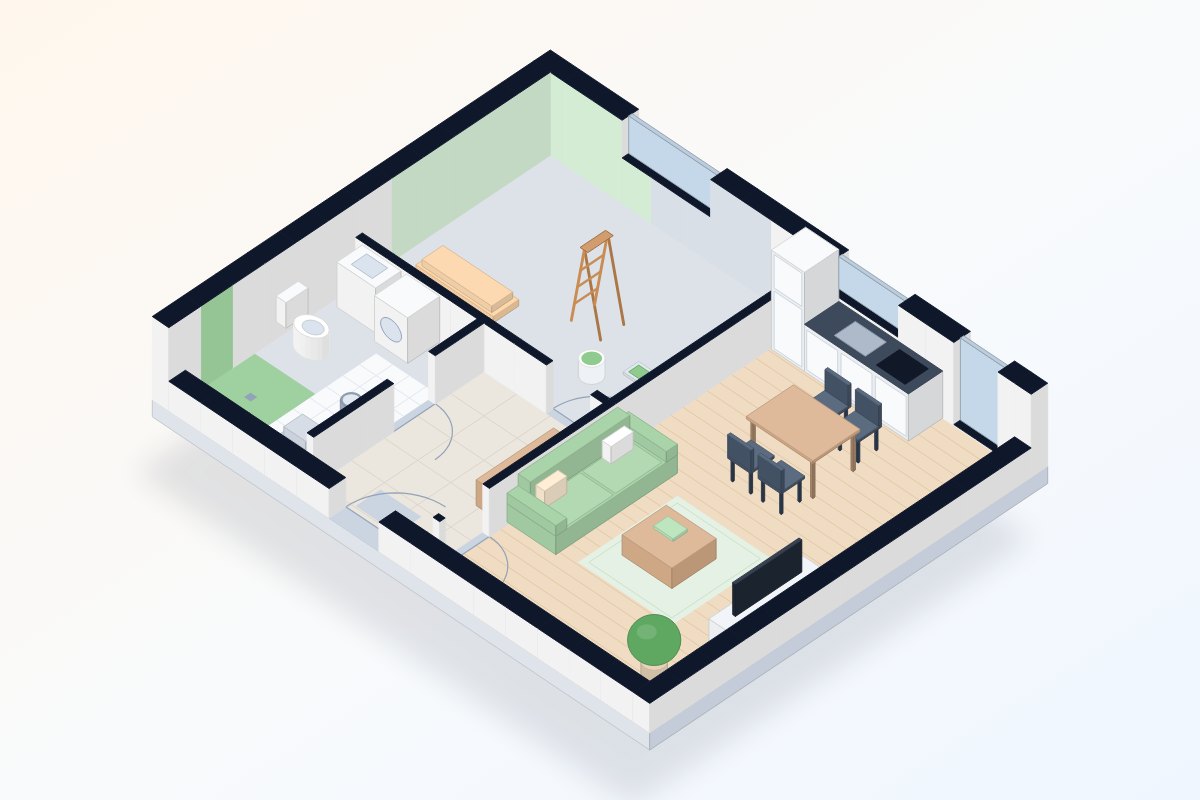
Renovating an apartment looks simpler than building a house, but it involves almost all the same work, from building services to finishes. It also happens in a small space inside an apartment building, where neighbours, shared building systems and the building's own rules all have to be taken into account. The most common renovation problems are skipped measurements, products ordered too late and work done in the wrong order.
This guide is for an apartment owner planning a full or substantial renovation who wants to understand the whole process. It sets out 17 stages, from renovation goals and measurements to defect checks, warranties and closing the project. For each stage it lists the decisions you will face and what to prepare before moving on. Lithuanian names of key terms and institutions are given in brackets, because those are the terms you will meet in practice.
How to read this guide
This is an overview of the process, not legal advice or a technical method statement. Whether particular work needs a design, a permit or the consent of other owners depends on the nature of the work, the building and its legal status. A designer, the building administrator or the owners' association, and other specialists, assess this.
The whole process at a glance
A renovation is best split into four parts. The first – planning – ends when you have a layout, a plan of technical decisions, a budget and contractors, and long-lead products have been ordered. Only then do the first-fix works begin, followed by finishes and fit-out, and finally checks and paperwork.
There is no universal sequence
The sequence below is a typical one. The exact order depends on the building's structure and condition, the chosen materials and systems, the contractor's methods and the requirements of the design. Some floor or wall systems, for example, need a different order of work or longer drying times.
Etapai
Start your apartment renovation project on the Etapai.lt platform
Create a project, lay out the renovation stages and tasks, assign responsible people, and keep drawings, contracts and photos with the work they belong to.
Planning and preparation
Stage 1: Goals and scope of the renovation
Start by agreeing what you want to achieve: refresh the finishes, replace the building services, change the layout, or prepare the apartment for renting out or selling. The goals determine the scope, and the scope determines the budget, the timeline and whether you will need permissions or approvals.
Be clear about what you are changing throughout the apartment and what only in particular rooms. If you plan to live in the apartment during the renovation, that also affects the order and duration of the work.
Key decisions
- the goal and scope of the renovation: a cosmetic refresh, replacing services or a full renovation;
- whether the layout will change;
- where you will live during the work and when the apartment must be ready.
Before moving on
- have a short list of goals and priorities that you can show to a designer or contractor;
- know your preferred completion date and what depends on it.
Stage 2: Assessing the current condition and measuring
Before planning solutions, find out what you actually have. Measure the rooms, how uneven the walls and floors are, and the size and height of openings. Check the condition of the electrical wiring (in older buildings it may be outdated or aluminium), the water and drainage risers, the heating emitters, how well the ventilation ducts draw, and the condition of the windows and balcony.
Ask the building administrator or the owners' association for the documents they hold: building drawings, the description of common property (bendrojo naudojimo objektų aprašas), information about the risers and any planned building-wide repairs. They will help you understand where the shared systems run and which parts of your apartment are load-bearing.
Key decisions
- what can stay and what must be replaced for safety or because of its condition;
- whether you need a specialist's opinion, for example on the type of walls, moisture or the condition of the wiring.
Before moving on
- have a measured plan with ceiling heights and openings;
- record the current condition with photos, especially of walls and ceilings shared with neighbours and of shared systems.
Stage 3: Layout, legal and building constraints
In an apartment building you cannot change everything inside your apartment as you please. The State Territorial Planning and Construction Inspectorate explains that removing or rebuilding non-load-bearing internal partitions, without changing the building's appearance, is usually a simple repair (paprastasis remontas) that needs neither a building permit document nor a design. Work affecting load-bearing structures is a major repair (kapitalinis remontas). It needs a design, an expert review of that design and the approval of a majority of the other owners, and in cultural heritage buildings or protected areas also a building permit document.
The approval of the other apartment and premises owners is also needed when work affects other common property: the facade, balconies, shared building services or common areas. The Inspectorate states that this approval is formalised under the procedure set out in the Civil Code. Changing the use of premises always requires a building permit document. Glazing a balcony or loggia, or changing the colour, size or division of windows, also counts as changing the building's appearance.

Key decisions
- the final layout, and whether it affects load-bearing structures or shared systems;
- whether you need a design, an expert review, a permit or the owners' approval – and who will arrange it;
- where the wet rooms will be. The Inspectorate notes that new sanitary rooms above neighbours' living rooms must be watertight against water and wastewater.
Before moving on
- have a designer or another qualified specialist confirm the type of any wall you plan to remove or open up;
- obtain the required approvals and documents before starting that work, not afterwards.
Common mistake
Knocking down a wall "because it didn't look load-bearing". Changing load-bearing structures without a design and approval puts the whole building at risk and can be treated as unauthorised construction. A specialist must assess whether a wall is load-bearing.
Stage 4: Interior and technical design plan
A renovation needs a plan that covers not only how the interior will look but also the technical solutions: the positions of sockets, switches and light fittings, the layout of sanitary fittings, heating emitters, ventilation, floor build-ups and levels. These decisions determine the scope of the first-fix works.
Plan electrical and water points around the real layout of furniture and appliances. If the kitchen or wardrobes are made to order, their drawings must be agreed before the first fix of electrics and plumbing.
Key decisions
- interior design and the main materials;
- a plan of electrical, lighting, low-voltage and plumbing points;
- heating and ventilation solutions, and whether any shared systems will change.
Before moving on
- have drawings that contractors can price and work from;
- coordinate the kitchen and built-in furniture sketches with the technical points.
Stage 5: Budget, contingency and schedule
Build the budget from a list of works and materials, not from a "renovation cost per square metre". Estimate materials, labour, appliances, furniture, waste removal and temporary accommodation separately. In older apartments, opening up walls or floors often reveals extra work, so a contingency is essential.
The schedule must reflect not only how long each job takes but also drying times, delivery times and dependencies: tiles, for example, can only go on a prepared and dry substrate, and furniture can only be measured once the walls are finished.
Key decisions
- the overall budget limit and a contingency for unexpected work;
- which decisions can be postponed or simplified if the budget grows;
- a realistic schedule including drying and delivery times.
Before moving on
- have a cost estimate of works and materials, split by stage;
- draw up a schedule that shows which work depends on what.
Stage 6: Contractors, materials and long-lead items
Decide whether you will hire one contractor for all the work or separate specialists, and who will coordinate them. Compare offers on the same scope and the same assumptions. The contract should clearly describe the scope, price, deadlines, payment stages, how changes are handled, warranties and who buys the materials.
Some products take a long time to make or deliver: made-to-order furniture, doors, windows, some tiles or sanitaryware. Order them so that they arrive by the time they are needed – otherwise the work will stop.
Key decisions
- the contracting model and who is responsible for coordination;
- who buys materials, and when;
- which products have long lead times and when they must be ordered.
Before moving on
- sign contracts with a clear scope, deadlines and warranties;
- order long-lead products and note their delivery dates.
Etapai
Start your apartment renovation project on the Etapai.lt platform
Create a project, lay out the renovation stages and tasks, assign responsible people, and keep drawings, contracts and photos with the work they belong to.
First fix and building services
Stage 7: Site preparation and strip-out
Before the work starts, let your neighbours and the building administrator or owners' association know. Protect the stairwell, the lift and other common areas from dust and damage. The hours for noisy work are limited by municipal rules and the building's own house rules. In Vilnius, for example, noisy construction and repair work in residential areas is allowed from 7:00 to 18:00 on working days and from 9:00 to 17:00 on weekends and public holidays. Rules may differ in other municipalities.
During strip-out, building services must be disconnected and safely capped, anything that will be reused must be kept, and you need to agree how construction waste will be handled. Once walls and floors are opened up, reassess the condition: hidden defects usually show up at exactly this point.
Key decisions
- who will remove construction waste, when and how;
- what to remove and what to keep and protect;
- how water or heating will be shut off if shared risers have to be touched (this is agreed with the administrator).
Before moving on
- photograph the exposed condition;
- if there are surprises, update the plan and the budget before continuing.
Stage 8: Structure and partitions
At this stage partitions are built or rebuilt, openings are formed or closed (where this is allowed), and recesses and frames are installed. The position of partitions and openings must follow the approved layout and, where load-bearing structures are affected, the design.
This is also the time to plan fixing points for wall-hung furniture, appliances and heavy fittings: plasterboard partitions need built-in supports.
Key decisions
- partition materials and sound insulation between rooms;
- opening and door sizes to suit the chosen doors;
- where reinforcement is needed for wall-hung items.
Before moving on
- check the geometry of the partitions and the size of the openings;
- make sure that only the structural changes that were planned and permitted have been made.
Stage 9: First fix of electrics, low-voltage systems, plumbing, heating and ventilation
In the first fix, all concealed routes are installed: electrical cables and boxes, low-voltage cabling (internet, door entry, security), water and drainage pipes, heating pipes and ductwork. Everything that will later be plastered over or covered must be installed and tested now.
Have electrical work done by a specialist qualified to do it, and plan a new consumer unit with spare capacity. Pressure-test the plumbing before the pipes are covered, and leave access to risers, meters and shut-off valves. If heating emitters are replaced, or a shared heating, gas or electrical system is affected, the Inspectorate notes that a building permit document and the approval of other owners may be required. Always agree such work with the administrator or the owners' association.
Key decisions
- the layout of the consumer unit, outlets and circuits;
- the locations of the router, door entry unit and other low-voltage equipment;
- how ventilation will work: the kitchen hood, the bathroom fan and the supply of fresh air into the apartment.
Before moving on
- pressure-test the pipework and check the electrical installation;
- photograph and measure all routes before they are covered.
Common mistake
Connecting a powerful extractor hood with a fan straight into a shared natural ventilation duct. Smells can be pushed into neighbours' apartments, and your own apartment can be left without proper extraction. Discuss the ventilation solution with a specialist and the building administrator.
Stage 10: Walls, ceilings and floor substrates
Once the routes are installed and tested, the substrates are prepared: walls are plastered or skimmed, ceilings are installed, and floor screeds are poured or dry floors laid. Wet work such as plaster or screed needs drying time. It cannot be shortened, because the finishes will suffer later.
Coordinate floor levels throughout the apartment so that there are no unnecessary thresholds between rooms and so that doors and furniture fit as planned.
Key decisions
- the standard of wall and ceiling preparation required by the chosen finish;
- the floor substrate system, levels and sound insulation from neighbours;
- whether there will be underfloor heating and how it fits with the shared heating system.
Before moving on
- accept the surfaces, corners and reveals before finishing;
- measure the moisture of the substrates before tiling or laying floor coverings.
Finishes and fit-out
Stage 11: Bathrooms and other wet areas
Bathrooms, showers, toilets and the wet zone of the kitchen are the most sensitive parts of a renovation, because a leak damages not only your apartment but also your neighbours'. Before tiling, the waterproofing must be installed and accepted, especially in the shower area, around drains and pipe penetrations, along with the falls to the drains.
Leave service access to concealed frames and fittings. Photograph the waterproofing layers – you will not see them again later.
Key decisions
- the waterproofing system and where it is applied;
- the shower solution (a shower tray or a floor drain) and the falls;
- access to inspection hatches, meters and valves.
Before moving on
- accept the waterproofing and falls before tiling;
- check that every outlet is in the right place for the dimensions of the fittings.
Stage 12: Painting and final surface finishes
Painting, wallpapering, floor coverings and other final finishes go on once the substrates are prepared and dry. The typical order is from top to bottom: ceilings first, then walls, and floors last. But the exact order depends on the chosen materials and the manufacturers' instructions.
Floor coverings, especially wooden ones, need to acclimatise and be laid in the right humidity and temperature conditions. Protect finished surfaces from further work.
Key decisions
- the final choice of paints, finishes and colours;
- the direction in which floors are laid and the transitions between rooms.
Before moving on
- inspect the surfaces and mark anything that needs touching up;
- protect floors and walls until the work is finished.
Stage 13: Doors, electrics, plumbing and lighting
In the second fix, the final elements are installed: internal doors, switches and sockets, light fittings, sanitaryware and taps, and the final parts of the heating emitters. Door frames go in only after the floor coverings are laid and the walls are finished.
Once fittings are connected, check that everything works and does not leak: every socket, switch, tap and drain connection.
Key decisions
- the models of doors, switches, light fittings and sanitaryware;
- lighting scenes and controls.
Before moving on
- test every fitting and check that all connections are watertight;
- collect the equipment manuals and warranty documents.
Stage 14: Kitchen, built-in furniture and appliances
The dimensions of the kitchen and other built-in furniture are confirmed once the walls and floors are finished, so the final measurements are taken now. The furniture maker needs the exact positions of the electrical, water and drainage outlets.
During installation, appliances are connected according to the manufacturers' requirements and the water and drainage connections are checked. It is particularly important to protect the dishwasher, the washing machine and any plumbed-in fridge against leaks.
Key decisions
- final furniture drawings based on actual dimensions;
- appliance models and their installation requirements.
Before moving on
- check that the furniture has been installed according to the drawings and that all appliances work;
- record any defects and agree how they will be fixed.
Stage 15: Furniture and final fit-out
The last fit-out stage brings freestanding furniture, curtains, mirrors, extra light fittings and other items. Plan deliveries so that furniture is not installed on surfaces that are still drying or unprotected.
Key decisions
- the order in which furniture is delivered and installed;
- who will install wall-hung items and where the reinforcements are.
Before moving on
- write a list of the last small jobs;
- get the apartment ready for cleaning.
Completion
Stage 16: Defect checks, system testing and cleaning
Before accepting the work from the contractor, walk through the whole apartment and list the defects: surface flaws, leaks, fittings that do not work, doors and windows that need adjusting. Check how the heating, ventilation, water and electrics work. Agree a deadline for fixing each defect.
A thorough clean is needed after construction work, because building dust takes a long time to settle. Replace any ventilation filters that were used during the work.
Key decisions
- which defects must be fixed before the final payment;
- when and how you settle with the contractor.
Before moving on
- have a written list of defects and confirmation that they have been fixed;
- check that all systems work.
Stage 17: Documents, warranties and closing the project
A renovation is not finished when the last tradesperson leaves, but when the paperwork is in order. Gather the contracts, acceptance records, invoices, equipment manuals and warranty documents, along with photos and plans of the concealed routes. You will need them for repairs, warranty claims or selling the apartment.
Ask for warranties in writing. Distinguish the contractor's warranty on the work from the manufacturers' warranties on equipment and materials. If the layout or floor areas have changed, check whether the apartment's data in the Real Property Register (Nekilnojamojo turto registras) needs updating.
Key decisions
- where and how you will keep the renovation documents;
- whether the register data or your insurance need updating.
Before moving on
- draw up a list of equipment and warranties with their expiry dates;
- close the renovation project so that only future maintenance remains.
Putting the plan into practice
A renovation runs more smoothly when all the information lives in one place and is linked to the work:
- keep the decisions, drawings and relevant parts of contracts with each stage;
- photograph all concealed routes before they are covered and note their dimensions;
- link long-lead products to the schedule, so that a late delivery is visible in advance;
- record defects in writing with photos and a deadline.
Sources and currency
This guide was prepared in October 2026 and reflects the information published in official sources at that time. Construction regulations and municipal rules change, so check the current rules before starting work and, where needed, consult a designer, the building administrator or the owners' association. The guide is based on the following sources (available in Lithuanian only):
- State Territorial Planning and Construction Inspectorate: Replanning a home in an apartment building (2023-11-29)
- State Territorial Planning and Construction Inspectorate: Information for those planning to remove walls in an apartment building (2022-12-28)
- State Territorial Planning and Construction Inspectorate: The difference between major repair, simple repair and reconstruction, and when a building permit document is required (2021-04-29)
- State Territorial Planning and Construction Inspectorate: Is a design and permit needed to add a bathroom in an apartment? (2023-02-21)
- Vilnius City Municipality: Notices from operators of noise sources planning construction, repair or installation work in residential areas